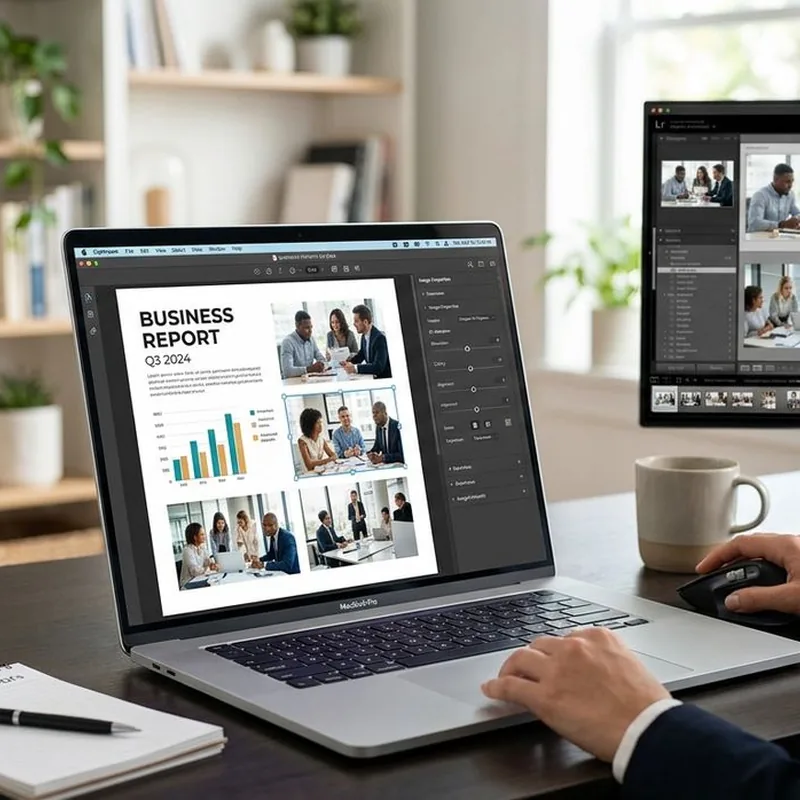
A blurry headshot or a product photo with a chaotic background can quietly undermine an otherwise strong PDF report. Whether you are putting together a business proposal, an academic submission, or a portfolio PDF, the images you include say a lot about your attention to detail. The good news is that preparing images properly takes only a few minutes, and the difference it makes to the final document is remarkable.
Key Points to Know:
1. Cluttered or mismatched image backgrounds make PDFs look unprepared and distract from your content.
2. Stripping the background from a photo and resizing it before import prevents layout headaches inside your PDF editor.
3. Matching pixel dimensions to your document's layout grid keeps images crisp and file sizes manageable.
Why Images Make or Break a PDF Report
Most professionals and students treat image preparation as an afterthought. They screenshot a photo, drag it into a PDF editor, and scale it by eye. The result is often a pixelated mess or an image that clashes with the page background color.
A PDF is a fixed-layout format, which means every element, text block, graphic, and image, sits in an exact position. Because the Portable Document Format was designed for precise print and screen reproduction, images that are low resolution, the wrong size, or badly cropped look noticeably worse than they would in a more flexible format like a web page. The margin for error is small.
Getting images right before they go into your PDF editor is almost always easier than trying to fix them inside the editor. Most PDF tools offer basic crop and resize, but they are not image editors. Doing the real preparation work upstream, in dedicated image tools, gives you far more control.
The Real Cost of a Cluttered Background
Think about a product shot taken on a kitchen counter, or a headshot taken in front of a bookshelf. Both might be perfectly sharp photos. But drop them into a white-background PDF report and they look out of place immediately.
A busy background competes with your content. The reader's eye gets pulled toward the clutter instead of the subject. In a formal proposal or an academic paper, that kind of visual noise reads as careless.
There is also a practical issue. An image with a mixed or colored background does not blend with a white or light-gray PDF page. It sits on the page like a postage stamp. Even if you add a border to frame it, the photo still looks like a foreign object that was pasted in rather than designed in.
Removing the background solves both problems at once. A clean, transparent background means the subject sits naturally on whatever color your PDF page uses. It looks intentional. It looks considered.
Stripping the Background Before You Import
The fastest way to clean up a photo before it goes into a PDF is to use a dedicated background remover. You upload the image, the tool isolates the subject automatically, and you download a PNG with a transparent background.
A few things worth knowing about this step:
- PNG is the right format when you need transparency. JPEG flattens everything onto a white or colored background, so always export as PNG after removing the background.
- AI-based isolation handles complex edges, hair, fur, and soft shadows far better than older manual selection techniques. You do not need to be a designer to get a clean result.
- Once the background is gone, you can place the image on any PDF page color and it will look like it belongs there.
This approach works especially well for headshots in company profiles, product photos in sales proposals, and logos or icons that were originally saved on a colored background. The subject pops cleanly, and the document looks like it was put together with care.
Getting the Dimensions Right
Background removal is half the job. The other half is making sure the image is the right size before it goes into your PDF.
Most PDF editors let you resize images after import, but resizing a large image down inside a PDF editor does not reduce the file size. The original pixel data is still there, embedded in the file. A 12-megapixel photo scaled down to a small thumbnail inside a PDF still carries all 12 megapixels of weight. This is one reason PDF files grow large when they contain photos.
The cleaner approach is to resize the image to exactly the dimensions you need before you import it. If the image slot in your layout is 600 pixels wide, export a 600-pixel-wide PNG. Nothing more, nothing less.
Using an image resizer lets you set exact pixel values for width and height, choose whether to lock the aspect ratio, and download the resized file ready for import. It takes about twenty seconds and means your PDF editor does not have to compensate for an oversized asset.
Research in the field of image resolution confirms that pixel density relative to output size is what determines perceived sharpness. Sending the right-size image in is the most direct way to control that. Scaling down inside a PDF editor does not improve sharpness, it just hides pixels that were already there.
Putting It Together: A Simple Pre-Import Workflow
The workflow does not need to be complicated. Here is what it looks like in practice:
- Start with your raw photo or graphic.
- Run it through a background removal tool if you need a clean, transparent result.
- Resize the output to the exact pixel dimensions your PDF layout needs.
- Save as PNG for any image that requires transparency, or as JPEG for photos where file size matters and transparency is not needed.
- Import the prepared file into your PDF editor.
Five steps, and each one takes less than a minute when you are using the right tools.
Matching Image Prep to Different Document Types
Not every PDF has the same needs. A business proposal with a single headshot on the cover page has very different requirements than a product catalog with thirty images.
For a single headshot or logo, transparency and clean isolation matter most. Background removal is the priority, and the final result should sit flush with whatever page color you are using.
For a catalog or brochure with many product photos, getting the file sizes right matters more. If each image is ten times larger than it needs to be, the final PDF can become too large to email or share. Resizing before import keeps the overall file weight under control.
For academic papers, most institutional style guides specify exact image dimensions and resolution requirements. Hitting those numbers precisely is easier when you size the image before import rather than trying to match them inside a PDF editor after the fact.
Your Images Deserve the Same Care as Your Words
A PDF report is a reflection of your work. Reviewers, clients, and professors notice when images look polished, even if they cannot always say exactly why. They also notice when photos look rushed or mismatched, and that first impression sticks.
Spending a few minutes on each image before it goes into your document is not perfectionism. It is just good practice. Remove the background where it creates visual noise. Resize to the exact dimensions your layout calls for. Export in the right format. Then import with confidence.
The document you hand over will look like it was designed, not assembled. That distinction matters more than most people realize.
 Continue with Google