PDFBEAR gives you two tools for filling in a PDF contract: eSign PDF for handwritten signatures and initials, and PDF Forms for typed fields, date pickers, and checkboxes. Use both together for a fully complete contract package.
- eSign PDF handles freehand signatures and initials drawn in the browser - No download required.
- PDF Forms adds typed text fields, date fields, and checkbox elements anywhere on the page.
- Initials go on each page; the full signature belongs on the final signature block only.
- All processing is HTTPS-encrypted and files are deleted after 14 days of inactivity.
Sign smart: initials on every page, full signature at the end, checkbox for consent - All done in your browser in under five minutes.
Why Contracts Need More Than Just a Signature
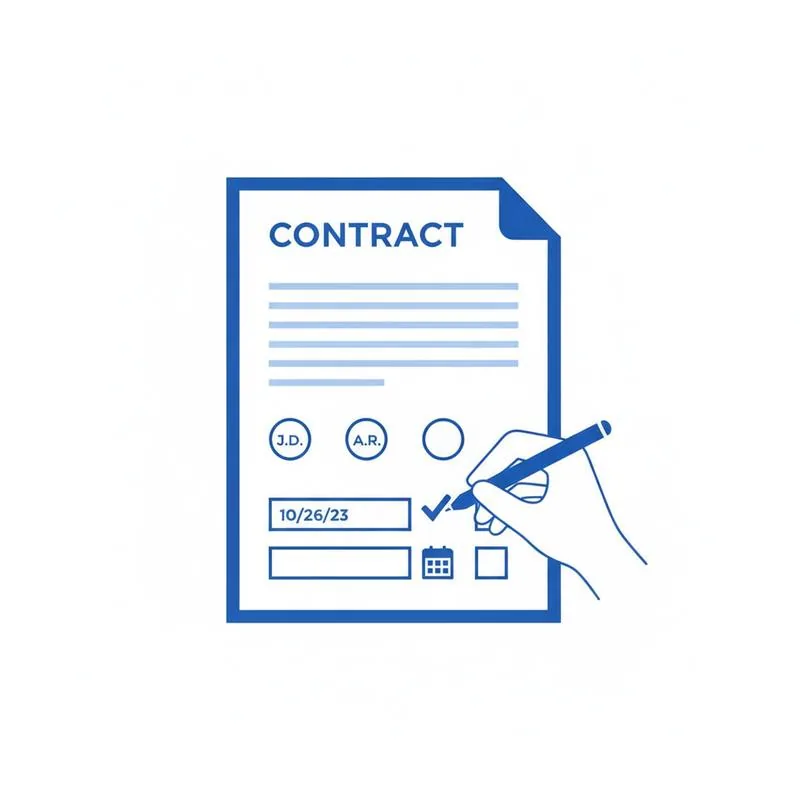
A standard employment agreement, lease, or service contract usually demands several types of acknowledgement from the signer: a full signature on the final page, initials at the bottom of every preceding page to confirm each page was read, a date field tied to the signature, and sometimes a checkbox confirming the signer agrees to specific terms such as a non-disclosure clause or an arbitration agreement. Getting all of these into a PDF - Without printing, scanning, or installing dedicated software - Used to require expensive desktop tools. PDFBEAR removes that barrier entirely. With eSign PDF and PDF Forms working side by side, you can annotate a multi-page contract completely from a browser on any device.
The key is understanding which tool handles which job. eSign PDF is your pen: it captures handwritten-style strokes, letting you draw initials or a full signature directly on the canvas. PDF Forms is your typewriter: it places interactive field elements - Text boxes, date selectors, checkboxes - That produce clean, legible typed output. For most contracts you will use both. You might open the document in PDF Forms first to stamp the date and tick the agreement checkbox, then bring it into eSign PDF to add the handwritten touches.
Step 1 - Add Typed Fields With PDF Forms
Go to PDF Forms and upload your contract PDF. Once the document renders in the viewer, look for the toolbar across the top. You will see options for text, checkbox, radio button, dropdown, and date fields. Click the Date button and place it beside the "Date:" label in the signature block. A calendar picker will appear for the recipient to choose their date. If you prefer a static date - Say today's date - Use a Text field instead and type it in manually.
Next, scroll to any "I agree to the terms" line in the document. Click the Checkbox button and drag a small checkbox element directly onto the blank square next to that clause. You can resize the element by dragging its corners so it fits the existing printed box perfectly. Repeat for any other checkbox fields - Consent to email marketing, acknowledgement of a refund policy, and so on. When all typed fields are in place, click Download. The resulting PDF has these fields baked into the page - No editable form fields remain, just fixed content.
Step 2 - Add Your Handwritten Signature and Initials
Take the PDF you just downloaded from PDF Forms and upload it to eSign PDF. The tool opens in a full-page editor. In the left panel you will see three options: Signature, Initials, and Text. Start with your initials. Click Initials and draw your shortened version of your name in the pop-up canvas - Keep it compact since it will repeat on multiple pages. Once you have drawn your initials to your liking, click Apply.
Now navigate to the bottom of page 1. Place the initials element in the lower-right corner of that page. Drag the handles to scale it to a natural size - Roughly the same height as the text around it. Switch to the next page and do the same. On the final page, switch to Signature, draw your full signature, and place it in the main signature block. Finally, if the contract has a printed signature line with a name beneath it, use the Text element to type your printed name directly below your drawn signature. When every page is initialled and the final block is signed, click Download.
Distinguishing eSign PDF From PDF Forms
New users sometimes mix up the two tools. Here is a quick reference:
| Feature | eSign PDF | PDF Forms |
|---|---|---|
| Handwritten signature | Yes - Draw on canvas | No |
| Initials (drawn) | Yes | No |
| Typed text fields | Basic text stamps | Yes - Full form fields |
| Date picker | No | Yes |
| Checkboxes | No | Yes |
| Best for | Ink-style signatures | Typed form completion |
Where to Place Initials on a Multi-Page Contract
Legal convention in most jurisdictions places initials at the bottom of every page that is not the signature page - Typically in the lower-right corner, sometimes alongside a page number notation such as "JD / 4" (initials / page number). The purpose is to prove the signer saw and acknowledged each page, making it difficult to claim a page was swapped after signing. If your contract is five pages, you should have initials on pages 1 through 4 and a full signature on page 5.
In eSign PDF, the fastest workflow is to create your initials element once, place it on page 1, then use the copy function to paste the same element onto each subsequent page, moving it to the same position. The result is a consistent, professional-looking set of initials throughout the document.
What Happens to Your Document After Signing
PDFBEAR processes everything in memory over an HTTPS-encrypted connection. No member of the PDFBEAR team can read your contract. Once your session ends, your file sits on PDFBEAR's servers for up to 14 days from the last time it was accessed - After that it is automatically purged. If you need permanent cloud storage and version history, consider upgrading to PDFBEAR Premium, which costs $13.99 per month or $99.99 per year and includes a 7-day free trial. Premium users get longer file retention and larger upload limits, which is useful when contracts run to dozens of pages with embedded images.
Once you have the signed PDF in hand, send it to the other party for their signature. They can run through the same PDFBEAR workflow on their end - No account required for free use. When both parties have signed copies, you each keep a PDF. There is no built-in countersignature routing in PDFBEAR, so if you need automated send-and-remind workflows you would use a dedicated e-signature platform on top of your PDFBEAR-prepared document. For most freelancers, small business owners, and individuals, the manual exchange workflow is perfectly adequate and keeps costs low.
Tips for a Clean, Professional Result
A few finishing touches make a big difference in how the signed contract looks. First, zoom in to 150% before placing elements so you can position them precisely on the existing lines and boxes. Second, keep signature and initial colors black - Matching the printed contract text - Rather than blue or red, which can look odd in monochrome printing. Third, after downloading the final PDF, open it in your system's PDF viewer and do a quick visual scan of every page to confirm every initial is in the right place and nothing is cropped. If you spot a misplaced element, return to eSign PDF, re-upload, and redo just the affected page. The process takes only seconds per page. Finally, save the finished PDF with a clear filename such as ClientName_ServiceAgreement_Signed_2025-06-20.pdf so you can find it instantly later.
Compare PDF tools
 Continue with Google