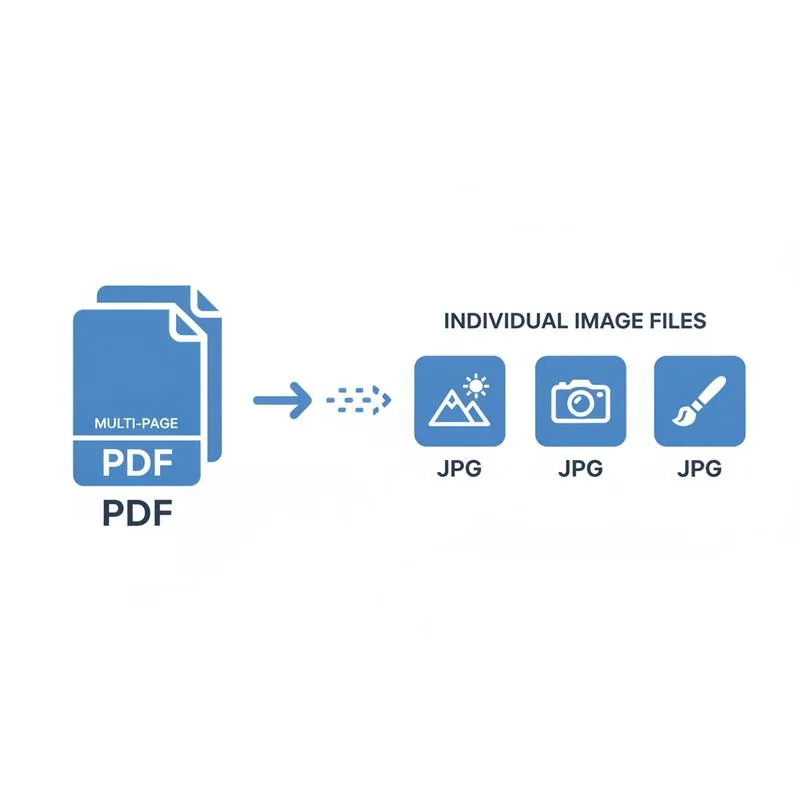
PDFBEAR can convert every page of a multi-page PDF into a separate image file - Either JPG for smaller file sizes or PNG for lossless quality - Giving you one image file per page, ready to use individually.
- PDF to JPG converts each page to a compressed image - Good for photos and web use
- PDF to PNG converts each page to a lossless image - Better for text, diagrams, and sharp edges
- Output is one image file per PDF page, packaged in a ZIP for download
- Use PDFBEAR's PDF to JPG or PDF to PNG tools - No software download, no watermarks
Convert any PDF into separate image files - One per page - As JPG or PNG, using PDFBEAR's free browser tools in seconds.
Why Convert a PDF to Separate Image Files?
A PDF is a great container format for documents you want to share in a fixed layout. But there are many situations where you need individual pages as images rather than as a multi-page PDF:
- Presentation slides: A PDF exported from PowerPoint can be converted to individual slide images for use in a website, a social media post, or a content management system that imports images.
- PDF book covers: Publishers need the cover of a PDF ebook as a standalone JPG or PNG for Amazon, Goodreads, or their own website. Extracting just the first page as an image is much faster than screenshotting.
- Creating thumbnails: To display a preview of a PDF (for example, on a file management system or a portfolio site), you need an image of the first page, not the full PDF.
- Editing individual pages: If you want to annotate, resize, or composite a specific page from a PDF, working with the image version is far easier than trying to edit the PDF directly.
- Uploading to platforms that do not accept PDF: Many social media platforms, form builders, and CMS tools accept images but not PDFs. Converting first solves the problem.
PDF to JPG vs PDF to PNG - Which Should You Choose?
PDFBEAR offers two image conversion outputs: PDF to JPG and PDF to PNG. They differ in a way that matters depending on your content.
| Property | JPG output | PNG output |
|---|---|---|
| Compression | Lossy - Some quality loss | Lossless - No quality loss |
| File size | Smaller (typically 60–80% smaller than PNG) | Larger |
| Transparency | Not supported - White background added | Supported |
| Best for | Photos, images, mixed-content pages | Text-heavy pages, diagrams, sharp edges |
| Web use | Good - Fast loading | Good for logos/icons; heavier for photos |
| Re-editing | Lossy - Re-saving degrades quality further | Safe to re-save without quality loss |
If your PDF contains mainly text and line art (like a presentation, a diagram, or a report), choose PNG. The lossless compression will produce sharper text and cleaner edges. If your PDF is photo-heavy (a catalogue, a photo book, a product brochure), choose JPG - It will produce much smaller files without noticeable quality loss on photographic content.
How to Convert a PDF to Separate Image Files With PDFBEAR
The process is simple and identical for both JPG and PNG output:
- Go to PDF to JPG or PDF to PNG. Choose based on your content type - JPG for photos, PNG for text and diagrams.
- Upload your PDF. Drag and drop or use the file picker. PDFBEAR accepts files up to 50 MB on the free plan.
- Choose image quality settings (if available). Higher quality means larger file sizes but sharper output. For screen display, 72–96 DPI is usually fine. For print use, choose 150–300 DPI.
- Click Convert. PDFBEAR renders each page of the PDF to an image file.
- Download the ZIP. All page images are packaged in a single ZIP file. Open it to access each image individually - They are named page1, page2, etc. in order.
Resolution and DPI - What to Know
When a PDF is converted to an image, the resolution (dots per inch) determines how crisp the output looks and how large the file is:
- 72 DPI: Screen resolution. Fine for website thumbnails, social media previews, and on-screen display. File sizes are small.
- 150 DPI: A good middle ground. Readable when printed at A4/Letter size and not too large for email or web use.
- 300 DPI: Print quality. This is the standard for professional printing and should be used if the output images will ever be printed or used in a print-ready design file.
A text-heavy A4 PDF page at 300 DPI produces a PNG that is roughly 2480 × 3508 pixels - A large, crisp image. At 72 DPI, the same page is only about 595 × 842 pixels - Fine for a thumbnail but blurry if printed.
Converting Selective Pages vs All Pages
If you only need images of specific pages - For example, just the first page (cover) or pages 3–5 from a 20-page PDF - Extract those pages first using Split PDF or Delete Pages from PDF to create a smaller PDF containing only the pages you need. Then convert that smaller PDF to images. This saves processing time and produces a smaller ZIP file.
Alternatively, if your PDF only has a few pages and you only need one, you can convert the whole thing and then use only the specific image file from the ZIP you actually need.
Using the Images After Conversion
Once you have your individual page images, common next steps include:
- Uploading slide images to a presentation platform, a portfolio site, or a learning management system
- Using the cover image (page 1) as a book cover, product thumbnail, or document preview
- Editing individual pages in image editing software (GIMP, Photoshop, Canva) to add annotations, overlays, or branding
- Converting the images back to PDF after editing using JPG to PDF or PDFBEAR's PNG to PDF tool
- Embedding pages as images in Word documents or Google Docs where PDF embedding is not supported
PDFBEAR's PDF to JPG and PDF to PNG tools handle all standard PDFs including text documents, scanned images, presentations, and vector graphics. Your file is processed securely (HTTPS encrypted, no human review) and automatically deleted after 14 days from last activity.
Compare PDF tools
 Continue with Google