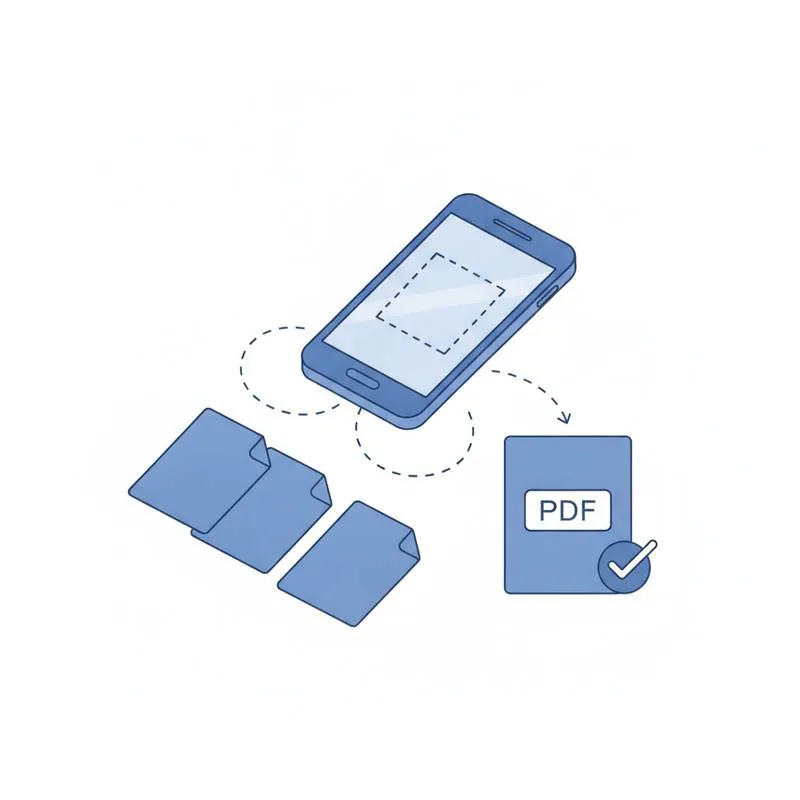
Photograph each page of your document in good light, upload all the images to Scan to PDF to get individual page PDFs, then combine them with Merge PDF to get one clean, ordered file.
- Even lighting and a flat surface eliminate most shadows and blur problems.
- Scan to PDF converts phone photos (JPG/PNG/HEIC) into searchable PDF pages.
- Merge PDF lets you drag-and-drop pages into the right order before combining.
- The workflow is free and works on any phone browser - No app download needed.
Good light + flat surface + PDFBEAR = a professional multi-page PDF from your phone in minutes, no scanner hardware required.
Preparing to Scan: Light, Surface, and Angle
The single biggest factor in scan quality is lighting. Natural daylight from a window produces clean, even illumination - But not direct sunlight, which creates harsh shadows and glare on glossy paper. Overcast daylight is ideal. If you are indoors under artificial light, spread the document on a desk directly beneath an overhead lamp and turn off any secondary light sources that cast conflicting shadows from the side. Avoid using your phone's flash: it creates a bright hotspot in the centre of the page and washes out text near the flash source.
Place the document on a flat, uncluttered surface with a contrasting background. A dark table under a white document works perfectly - The contrast helps any automatic cropping software identify the page edges. Smooth out folds and dog-eared corners before shooting. If the document is multiple sheets, do them one at a time rather than stacking; pressing on a stack always causes the top sheet to bow slightly, creating curved lines that are harder to correct.
Hold your phone directly above the page, perpendicular to the surface - Not at an angle. A slight tilt causes trapezoidal distortion where the top of the page appears narrower than the bottom. Many phones show a grid overlay in the camera app; use it to keep the phone level. Shoot from high enough that the entire page fits comfortably within the frame with a small border of the table showing at each edge. This gives the cropping step room to work accurately.
iOS vs Android: Getting Your Photos Into the Right Format
iPhones since iOS 11 default to saving photos in HEIC format, which is more space-efficient than JPG but not universally supported. PDFBEAR accepts HEIC directly, so you can upload as-is. However, if you plan to work with the photos in other tools first, you can set the iPhone to save in JPG: go to Settings → Camera → Formats → Most Compatible. On Android, most camera apps save in JPG by default, which is universally supported.
| Platform | Default Format | PDFBEAR Accepts? | Recommended Setting |
|---|---|---|---|
| iPhone (iOS 11+) | HEIC | Yes | Either HEIC or JPG works |
| Android (most) | JPG | Yes | Default is fine |
| iPhone Camera app scan mode | PDF (via Files) | Yes | Use directly - Skip Scan to PDF step |
| Google PhotoScan | JPG | Yes | Good for glossy photos |
iOS users have a shortcut available: the Files app (and Notes app) includes a built-in document scanner that auto-crops and produces a multi-page PDF directly. Open the Files app, tap the three-dot menu in any folder, choose Scan Documents, and shoot each page. iOS will auto-crop and let you add pages one by one, producing a single PDF you can then upload directly to Merge PDF or Scan to PDF if you want OCR applied. Android users on recent versions can use Google Drive's built-in scan function (tap the + button, choose Scan) to get a similar result.
Using Scan to PDF for Image-to-PDF Conversion
If your phone produced individual photo files (JPG, PNG, or HEIC) rather than a ready-made PDF, head to Scan to PDF on PDFBEAR. You can drag multiple images in at once or use the file picker to select them all. The tool converts each image into a properly sized PDF page - A4 or Letter, depending on the aspect ratio - And applies automatic contrast enhancement to make the text stand out against the background.
Merging Multiple Pages Into One PDF
After converting your images to PDF pages in Scan to PDF, download each page. You will have several individual single-page PDFs. Now go to Merge PDF and upload them all. The interface shows a thumbnail of each page and lets you drag them into the correct order - Essential if you photographed the pages out of sequence or if the file system sorted them alphabetically rather than numerically. Once the order is correct, click Merge. The resulting download is a single PDF containing all pages in sequence.
If you prefer, you can do everything in one step: upload all your image files directly to Merge PDF, which also accepts images (JPG, PNG) in addition to PDF files. It will convert and merge in one pass. The trade-off is that you lose the per-page contrast enhancement that Scan to PDF applies, so for documents with faded ink or uneven lighting the two-step route produces cleaner results.
Checking Quality Before You Send
Before emailing or storing the final PDF, do a quick quality check: open it in your phone's PDF viewer and pinch-zoom to 200% on the densest text area. Letters should be sharp and clearly legible at that zoom level. If they look soft or pixelated, the source photo was taken from too far away (low effective resolution) or there was camera shake. Re-shoot those pages with better technique - Rest your elbows on the table to stabilise the phone - And replace the affected pages using the Merge PDF tool's delete and re-upload functions.
Also check that no page is sideways or upside down. If a page came out rotated, you can fix it with Rotate PDF before re-merging. A minute of quality checking now saves embarrassment when the recipient opens the file and finds one page is horizontal while the rest are vertical.
Keeping File Size Under Control
High-resolution phone camera photos produce large PDFs. A 12-megapixel photo converted to a PDF page can be 3–5 MB per page - A ten-page document could easily reach 40 MB, which many email servers reject. After merging, run the combined PDF through Compress PDF to reduce the file size without visible quality loss. For a document that will only be read on screen, medium compression is fine and typically reduces file size by 60–70%. For a document that will be printed, use light or no compression to preserve sharpness at 300 DPI.
Compare PDF tools
 Continue with Google