A crooked phone scan needs two fixes: Rotate PDF to correct the tilt angle, and Crop PDF to remove black borders left by the camera. Together they turn a messy photo-PDF into a clean, professional-looking document.
- Rotate PDF corrects 90°, 180°, and 270° rotations - And can fix slight tilts using custom degree input.
- Crop PDF removes dark borders and unwanted margins that phone cameras introduce.
- Scan to PDF's auto-crop usually handles this automatically - Use manual tools only when it misses.
- Fix skew before running OCR - A tilted scan reduces text recognition accuracy significantly.
Rotate the angle, then crop the borders - Two quick PDFBEAR tools that turn a sloppy phone photo into a sharply presented PDF.
Why Phone Scans Come Out Crooked
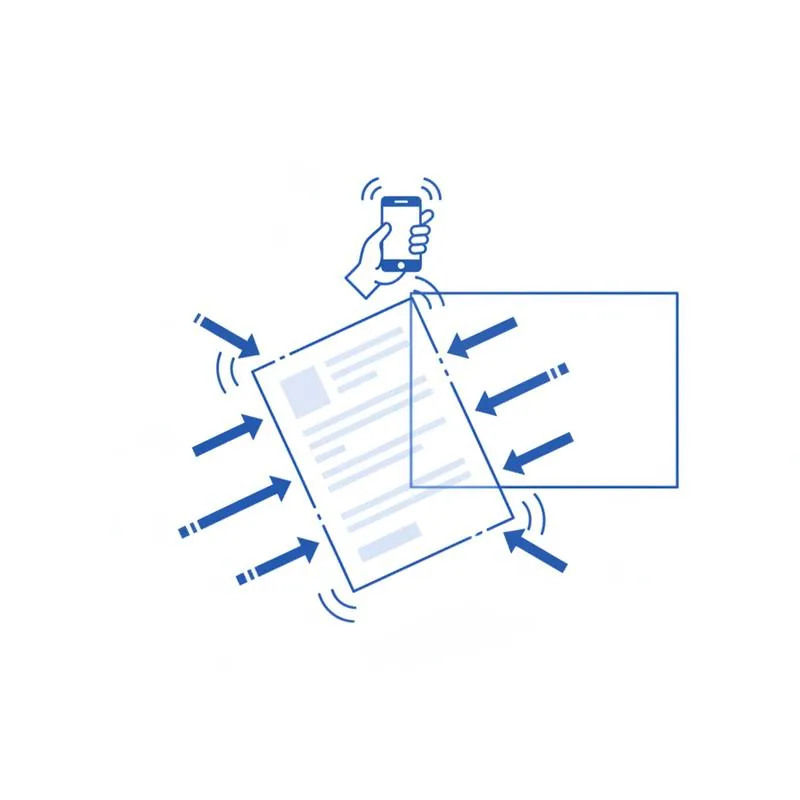
Phone cameras are handheld, and human hands are not perfectly stable. Even a user trying hard to hold the phone parallel to the page will typically introduce 2–5 degrees of rotation, simply because there is no physical alignment guide. Unlike a flatbed scanner, which has a rigid glass bed that enforces a perfectly straight scan every time, a phone scan relies entirely on the photographer's judgment and steadiness. In bright light with a short shutter speed, this is manageable. In dim indoor light where the camera uses a slower shutter speed or higher ISO, even small tremors become visible as blur or pronounced skew.
Beyond simple rotation, phone cameras also introduce perspective distortion when the phone is not held directly above the page. If you are shooting from slightly to one side, the far edge of the page appears shorter than the near edge, creating a trapezoidal shape. This is a different problem from rotation and cannot be fixed by simple rotation or cropping - It requires a perspective correction step. Scan to PDF on PDFBEAR applies automatic perspective correction during conversion, which is why uploading through that tool often produces better results than simply converting the photo to PDF directly.
Using Scan to PDF's Auto-Correction First
Before manually rotating and cropping, always try Scan to PDF with your raw phone photo. The tool analyses the image, detects document edges, applies perspective correction, removes black borders, and outputs a clean PDF page. For most phone scans taken in reasonable lighting, this automated process handles straightening and cropping without any manual intervention. Only move to manual rotation and cropping if the automatic result is still visibly skewed or has obvious black borders remaining.
How to Rotate a Tilted PDF Page
Go to Rotate PDF on PDFBEAR and upload your PDF. The tool shows thumbnails of each page. For a straightforward sideways page - Perhaps your phone was held landscape while the document is portrait - Click the 90° clockwise or 90° counter-clockwise button for that page. For a slight tilt of a few degrees, look for the custom rotation input. Enter the exact number of degrees to rotate - Try 3° clockwise if the page tilts slightly left, or 3° counter-clockwise if it tilts slightly right. You can apply rotation to individual pages (useful if only some pages are tilted) or to all pages at once.
After rotating, download the PDF and open it to check. Zoom in on a line of text and look at whether it runs truly horizontal - Use the horizontal edge of your browser window as a reference line. If it is still slightly off, go back and try a slightly different angle. Most slight tilts are between 1° and 5°; rarely will you need more than 8°. If the entire document is consistently 3° off, rotate all pages by the same amount at once rather than individually.
Cropping Out Black Borders and Camera Edges
When a phone captures a document against a table surface, the camera's field of view is wider than the document. The resulting PDF page includes the document area plus a surrounding border of table surface - Often appearing as a dark or coloured region around the white paper. After rotation, this border may be even more visible as uneven dark strips around the edges. Use Crop PDF to remove it.
In the Crop PDF interface, you see a preview of each page with draggable crop handles at the edges. Drag the top, bottom, left, and right handles inward until they sit at the actual edge of the document content - Just inside the dark border. Apply the same crop to all pages if they all have similar border widths (common when all pages were photographed from the same height and angle). For pages with varying border widths, crop each page individually.
| Problem | Tool to Use | What to Adjust |
|---|---|---|
| Page rotated 90° | Rotate PDF | 90° CW or CCW button |
| Page upside down | Rotate PDF | 180° button |
| Page slightly tilted 1–8° | Rotate PDF | Custom degree input |
| Dark borders from camera | Crop PDF | Drag crop handles inward |
| Extra white margin | Crop PDF | Reduce margin values |
| Perspective distortion | Scan to PDF | Auto-corrects on upload |
Why Straightening Before OCR Matters
If you plan to run OCR PDF on your scan, straightening is not just cosmetic - It materially improves OCR accuracy. OCR engines detect lines of text by looking for horizontal bands of pixels. When a page is tilted, lines of text run diagonally across the detection zones, causing the engine to split words across detection boundaries or merge words from adjacent lines. The result is garbled output: random strings, missing words, or text from line 3 appearing in the middle of text from line 1.
The correct order of operations is: rotate and crop first, then run OCR. Never run OCR on a visibly tilted image and expect the engine's internal deskew to fully compensate. Internal deskew algorithms are a fallback, not a replacement for a properly oriented source image. Spending an extra minute on rotation and cropping before OCR saves potentially minutes of manual correction work afterward.
Preventing Crooked Scans at the Source
The best fix is prevention. A few habits eliminate most phone-scan straightening work: use a grid overlay in your phone's camera app to align the document edges with the on-screen grid lines; place the document on a contrasting background so auto-edge detection is accurate; and hold the phone with both hands, bracing your elbows on the table if possible, to minimise rotation. Many phone camera apps also offer a "document mode" or "auto-capture" feature that waits until the document is properly aligned before taking the photo - Enabling this setting removes the manual alignment burden entirely.
Compare PDF tools
 Continue with Google