Turn a folder of screenshots into a single PDF by converting all images to PDF first, then merging them in the right order - The key is controlling sort order so your pages land in the sequence you intend.
- Mac screenshots are named "Screenshot YYYY-MM-DD at HH.MM.SS.png" - Sort alphabetically to get chronological order
- Windows screenshots may be "Screenshot (1).png" - Sort numerically, not alphabetically, to avoid wrong order
- Convert all screenshots using PNG to PDF (for PNGs) or JPG to PDF (for JPGs)
- Merge the converted PDFs in order using Merge PDF
Convert a folder of screenshots to a single PDF in the right order - Sort by filename first, then batch convert and merge with PDFBEAR.
The Screenshot-to-PDF Use Case
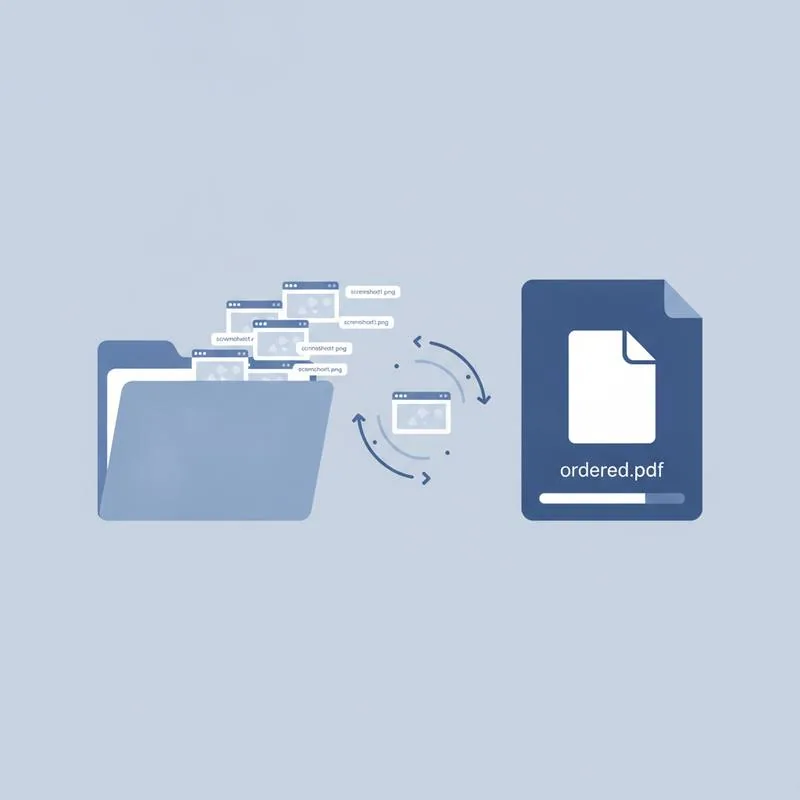
There are dozens of reasons you might end up with a folder of screenshots that need to become a single PDF:
- Documenting a software bug or user flow for a bug report
- Capturing a long web page that does not fit on one screen
- Recording a step-by-step process (installation guide, configuration walkthrough)
- Archiving a chat conversation or social media thread
- Creating a visual portfolio of UI designs or prototypes
- Documenting a multi-step transaction for compliance or audit purposes
In all these cases, the screenshots have a natural order - Step 1 through step N - And you need them to appear as consecutive pages in the final PDF in that exact sequence. Getting the order right requires understanding how screenshots are named on your operating system.
Screenshot Naming Conventions: Mac vs Windows
Mac and Windows name screenshot files very differently, and this affects how you need to sort them before converting:
| Platform | Default filename format | Example | Sort method |
|---|---|---|---|
| macOS | Screenshot [date] at [time].png | Screenshot 2025-11-03 at 14.22.31.png | Alphabetical = chronological (ISO date format) |
| Windows (Snipping Tool) | Screenshot ([number]).png | Screenshot (12).png | Numeric sort needed - "Screenshot (12)" sorts before "Screenshot (2)" alphabetically |
| Windows (PrtScn key) | Screenshot.png (overwritten each time) | Screenshot.png | Rename sequentially before processing |
| Phone (Android) | Screenshot_[timestamp].jpg or .png | Screenshot_20251103_142231.jpg | Alphabetical = chronological |
| Phone (iPhone) | IMG_[number].PNG | IMG_1423.PNG | Numeric (sequential camera roll number) |
The critical issue is Windows numbered screenshots. "Screenshot (2).png" sorts after "Screenshot (19).png" alphabetically because "2" comes after "1" - So a naive alphabetical sort produces: Screenshot (1), Screenshot (10), Screenshot (11), … Screenshot (19), Screenshot (2), Screenshot (20). This is almost certainly not the order you want.
Sorting and Renaming Before Converting
Before you upload your screenshots to any conversion tool, ensure they are in the correct order. Here are the safest approaches:
On Mac (Finder)
Mac screenshots use ISO date-time format in the filename (YYYY-MM-DD at HH.MM.SS), which sorts chronologically when sorted alphabetically. In Finder, sort your screenshots by Name (ascending) and the chronological order will match.
On Windows (File Explorer)
Windows Snipping Tool screenshots use a number in parentheses. Sort by "Date modified" in File Explorer to get chronological order. Then rename the files sequentially to lock in the order: 001_screenshot.png, 002_screenshot.png, etc. You can do this with a batch rename tool or manually if there are fewer than 20 files.
Batch renaming for any platform
If you need to process a large batch or are unsure of the sorting behaviour, the safest approach is to rename all files with a zero-padded number prefix before converting: 001.png, 002.png, 003.png, … 010.png, 011.png. Zero-padded numbers sort correctly alphabetically: "010" correctly comes after "009" and before "011".
Converting Screenshots to PDF
Once your files are named and sorted correctly, converting them to PDF is straightforward with PDFBEAR:
For PNG screenshots (most common on Mac and Windows): use PNG to PDF. Upload all your PNG files at once. The tool lets you set the page size (A4 or Letter) and whether to fit, fill, or centre each image on the page.
For JPG screenshots (common on phones): use JPG to PDF with the same options.
Key settings to configure:
- Page size: Match the intended output - A4 for standard documents, Letter for US-standard, or "Image size" to create a page exactly as large as each screenshot.
- Orientation: If your screenshots are landscape (wider than tall), set orientation to landscape to avoid the tool auto-rotating them to fit portrait pages. If a page still lands sideways, rotate the PDF and save the fix into the file.
- Margin: Zero margin maximises the screenshot coverage of each page. A small margin (5–10mm) looks more like a document. Choose based on your presentation preference.
The tool will produce individual PDF files (one per screenshot) or - If it supports batch upload - A single multi-page PDF directly. Check whether the batch upload produces one PDF per image or a combined multi-page PDF, as this affects whether you need the next step.
Merging Into a Single PDF
If your PNG-to-PDF or JPG-to-PDF conversion produced individual single-page PDFs (one per screenshot), use Merge PDF to combine them into one document.
- Go to Merge PDF and upload all your individual-page PDFs.
- Check the order in the uploader - The files should appear in your intended sequence. If they do not, drag to reorder them.
- Click Merge PDF and download the result.
The final PDF will have one screenshot per page in the order you specified. Page count equals your screenshot count.
Tips for Consistent, Professional Results
A few extra tips to make your screenshot PDF look polished:
- Consistent window size: If possible, take all screenshots at the same window/browser size so every page in the final PDF has the same aspect ratio and content scale. Mixing a 1440px-wide capture with a 768px-wide one on the same page size results in inconsistent content sizes. If pages still do not match, resize the PDF so every page is A4 or Letter.
- Crop unnecessary UI: Browser toolbars, taskbars, and notification popups cluttering the edges of screenshots distract from the content. Crop or retake screenshots to show only what is relevant. PDFBEAR's Crop PDF tool can help trim the converted PDF pages if needed.
- Dark mode screenshots: If your screenshots are dark-themed, consider whether the PDF recipient will find them readable on paper (dark backgrounds print poorly and use a lot of toner). Switching the source application to light mode before taking screenshots produces more print-friendly results.
- Compress the final PDF: A batch of 30 high-resolution PNG screenshots can produce a large PDF. After merging, run the result through PDFBEAR's Compress PDF tool to reduce the file size for easy sharing.
The full workflow - Sort, convert with PNG to PDF, merge with Merge PDF - Takes under 5 minutes for a folder of up to 50 screenshots. All PDFBEAR tools run in the browser with no software installation, no watermarks, and HTTPS-encrypted file handling.
Compare PDF tools
 Continue with Google