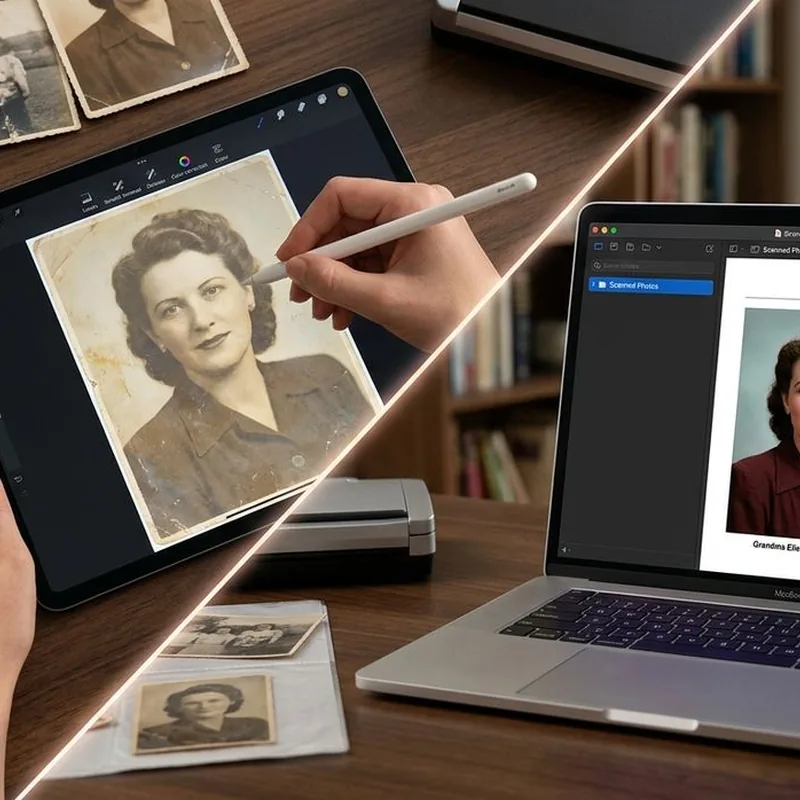
Old photos carry weight that digital snapshots rarely do. A grandmother's wedding portrait from the 1950s, a stack of employee ID cards from a company that no longer exists, a folder of vintage land records pulled from a dusty cabinet — these images hold real value. But when you scan them, the result is often a pale, yellowish, scratched version of what was once a sharp print. Archiving a degraded scan as a PDF does not preserve history. It just stores a damaged image in a tidy package.
The smarter move is to restore the image first, then convert it. This two-step approach takes only a few extra minutes and makes a dramatic difference in how usable, readable, and shareable your final PDF archive becomes.
Key Takeaways:
- Faded, scratched, or discolored scans should be restored before being saved as PDFs — archiving a poor image just locks the damage in permanently.
- AI-powered photo restoration tools recover lost detail, correct color shifts, and remove physical damage artifacts automatically.
- Cleaned images convert into far sharper, more professional PDFs via tools like PDFbear.
- Consistent resolution and file format across your batch keeps a merged PDF archive looking uniform.
- This restore-then-convert workflow matters most for vintage records, old employee files, and family photo collections where clarity is essential.
Why Old Photos Degrade in the First Place
Printed photographs are made from organic materials. Over time, those materials react to light, humidity, and oxygen. The result is predictable: yellowing, fading, silvering out in the shadow areas, and physical damage like cracks, creases, and brown foxing spots.
Photograph deterioration is a well-documented process in archival science. Even photos stored in albums and kept away from direct light will degrade over decades. By the time someone decides to scan and digitize them, the originals may already be well past their prime.
Scanning the photo captures its current state, including every scratch, stain, and color shift. That flaw gets frozen into the digital file and then, if you skip restoration, frozen again into the PDF. A PDF is only as good as the image it contains.
What Restoring a Photo Actually Means
Photo restoration is the process of reversing visible damage in a scanned image. At its core, it addresses several types of problems at once.
A good restoration pass handles:
- Color cast correction, which removes the yellow or sepia tint that printed photos develop over time
- Shadow recovery and highlight restoration for areas that have washed out or gone completely dark
- Removal of visible scratches, dust specks, stains, and foxing
- Sharpening of edges and fine detail, particularly in faces and printed text
- Repair of folding, tearing, or crease artifacts that appear at the edges or corners
Manual restoration in software like Photoshop can take hours per image and requires real skill. AI-based tools have changed this considerably. Modern restoration models trained on millions of degraded images can now do in seconds what once took professionals an afternoon.
Running Your Scan Through a Restoration Tool
Before you open PDFbear, your first stop should be a dedicated restoration tool. Upload your scanned image and let the AI work. The result is a cleaned-up version with recovered detail, corrected colors, and a noticeably sharper overall appearance.
For scans involving faded faces, vintage group photos, or formal portraits, running them through a photo restoration tool will specifically target facial features and recover clarity that the scan had lost. This matters especially for employee dossiers or historical records where identifying individuals in the image is part of the point.
The process is upload-and-wait. You do not need to make manual adjustments. The AI handles color grading, sharpening, and artifact removal automatically. Once the restored version is ready, download it as a clean JPEG or PNG, and then proceed to conversion.
Scanning Best Practices That Make Restoration Easier
If you have not yet scanned your photos and are starting from scratch, a few habits will make the restoration step go more smoothly.
Scan at a minimum of 300 DPI (dots per inch) for standard prints. For very small photos or finely detailed documents, go up to 600 DPI. Higher resolution gives the restoration AI more raw data to work with, and it gives PDFbear more to work with when rendering the final document.
Clean the scanner glass before each session. Dust on the glass shows up as small white specks on every scan. An AI restoration tool can remove them, but you are creating unnecessary work for yourself. A microfiber cloth takes ten seconds.
Store original photos flat while you work. Curved or rolled prints scan unevenly and introduce shadows at the edges that are harder to correct automatically.
Converting Restored Images to PDF with PDFbear
Once your restored image is downloaded, the conversion step is straightforward. PDFbear handles JPG-to-PDF and PNG-to-PDF conversions through a simple drag-and-drop interface, and the restored image will render cleanly because the underlying file quality is now high.
If you are building a larger archive document, such as a collection of family photographs spanning several decades or an employee records folder from a specific period, you can merge multiple restored images into a single PDF. PDFbear's merge feature lets you arrange them in the sequence you want, so the final document flows the way you intend.
Before uploading a batch, keep a few things consistent across all your files to ensure a uniform result in the final document. Use the same file format throughout, keep resolution consistent so all pages render at the same size and sharpness, and name your files descriptively before uploading so the resulting PDF is easy to navigate later.
When You Are Working With Records, Not Just Photos
Vintage records, old employee dossiers, and historical documents present a slightly different challenge. These scans often contain both images and handwritten or typed text. The text may be faded, smeared, or partially obscured by foxing.
Restoration tools help with these too. By recovering contrast and sharpening edges, they make handwritten notes more legible and typed text cleaner. This is especially useful if you plan to use PDFbear to create a searchable PDF, since optical character recognition performs better on higher-contrast, sharper images.
If your archive will be used for reference by others — an HR department pulling old employee files, a library cataloging historical images, or a family distributing shared records — the quality of restoration directly affects how useful the archive becomes. A poorly converted PDF forces the reader to squint at blurry details. A well-restored, properly converted one lets them actually read and reference the content with ease.
Organizing Your Archive After Conversion
Building the archive does not end at PDF conversion. A good digital archive is organized and labeled so it can be found and used years from now.
Add the year or date range to each file name so context is immediately visible without opening the file. Keep a simple index file that lists what each PDF contains and where the material came from. Store your restored source images separately from the final PDFs, so you can re-export in a different format later if needed. Back up to at least two locations, whether a cloud service and an external drive, or two separate cloud accounts.
The original damaged scans are also worth keeping, even with all their flaws. They are the raw source files. If restoration technology continues to improve, which it will, you may want to run them through again in a few years for even better results.
From Faded Prints to a Document Archive That Actually Works
The gap between a blurry, yellowed scan and a sharp, professional PDF archive is narrower than most people expect. The tools exist. The process is not complicated. It requires doing things in the right order.
Restore first. Convert second. Organize third.
Skipping restoration and jumping straight to PDF conversion is the most common mistake in personal and organizational archiving projects. The resulting files look poor, read badly, and often get ignored or reprinted from scratch by whoever eventually needs to use them.
Taking the extra step to clean up your scans before archiving them is what separates a folder of unusable files from a genuinely valuable digital collection. Whether you are preserving a single family album or digitizing years of business records, the principle holds. Start with the best possible image, and everything downstream gets easier.
 Continue with Google